

How To Change Canvas Color In Cricut Design Space
We may earn a small-scale commission for purchases made through affiliate links in this post. For more information get to our Privacy Policy.
You lot bought a Cricut machine and now you need to figure out how to use Cricut Design Space.
What?!
They didn't tell you that at that place was a learning curve for the machine and then for the software! Well. There is. There are so many things to larn when it comes to your Cricut and Cricut Pattern Infinite.
That doesn't mean that y'all can't have it upwards and running in no-time. Let go of the nervousness and the idea that y'all are going to mess something upwardly. Swoop in. Start clicking and cutting and before yous know information technology, you will wonder why you were e'er scared of that noisy little simply (and the silly software) to begin with.
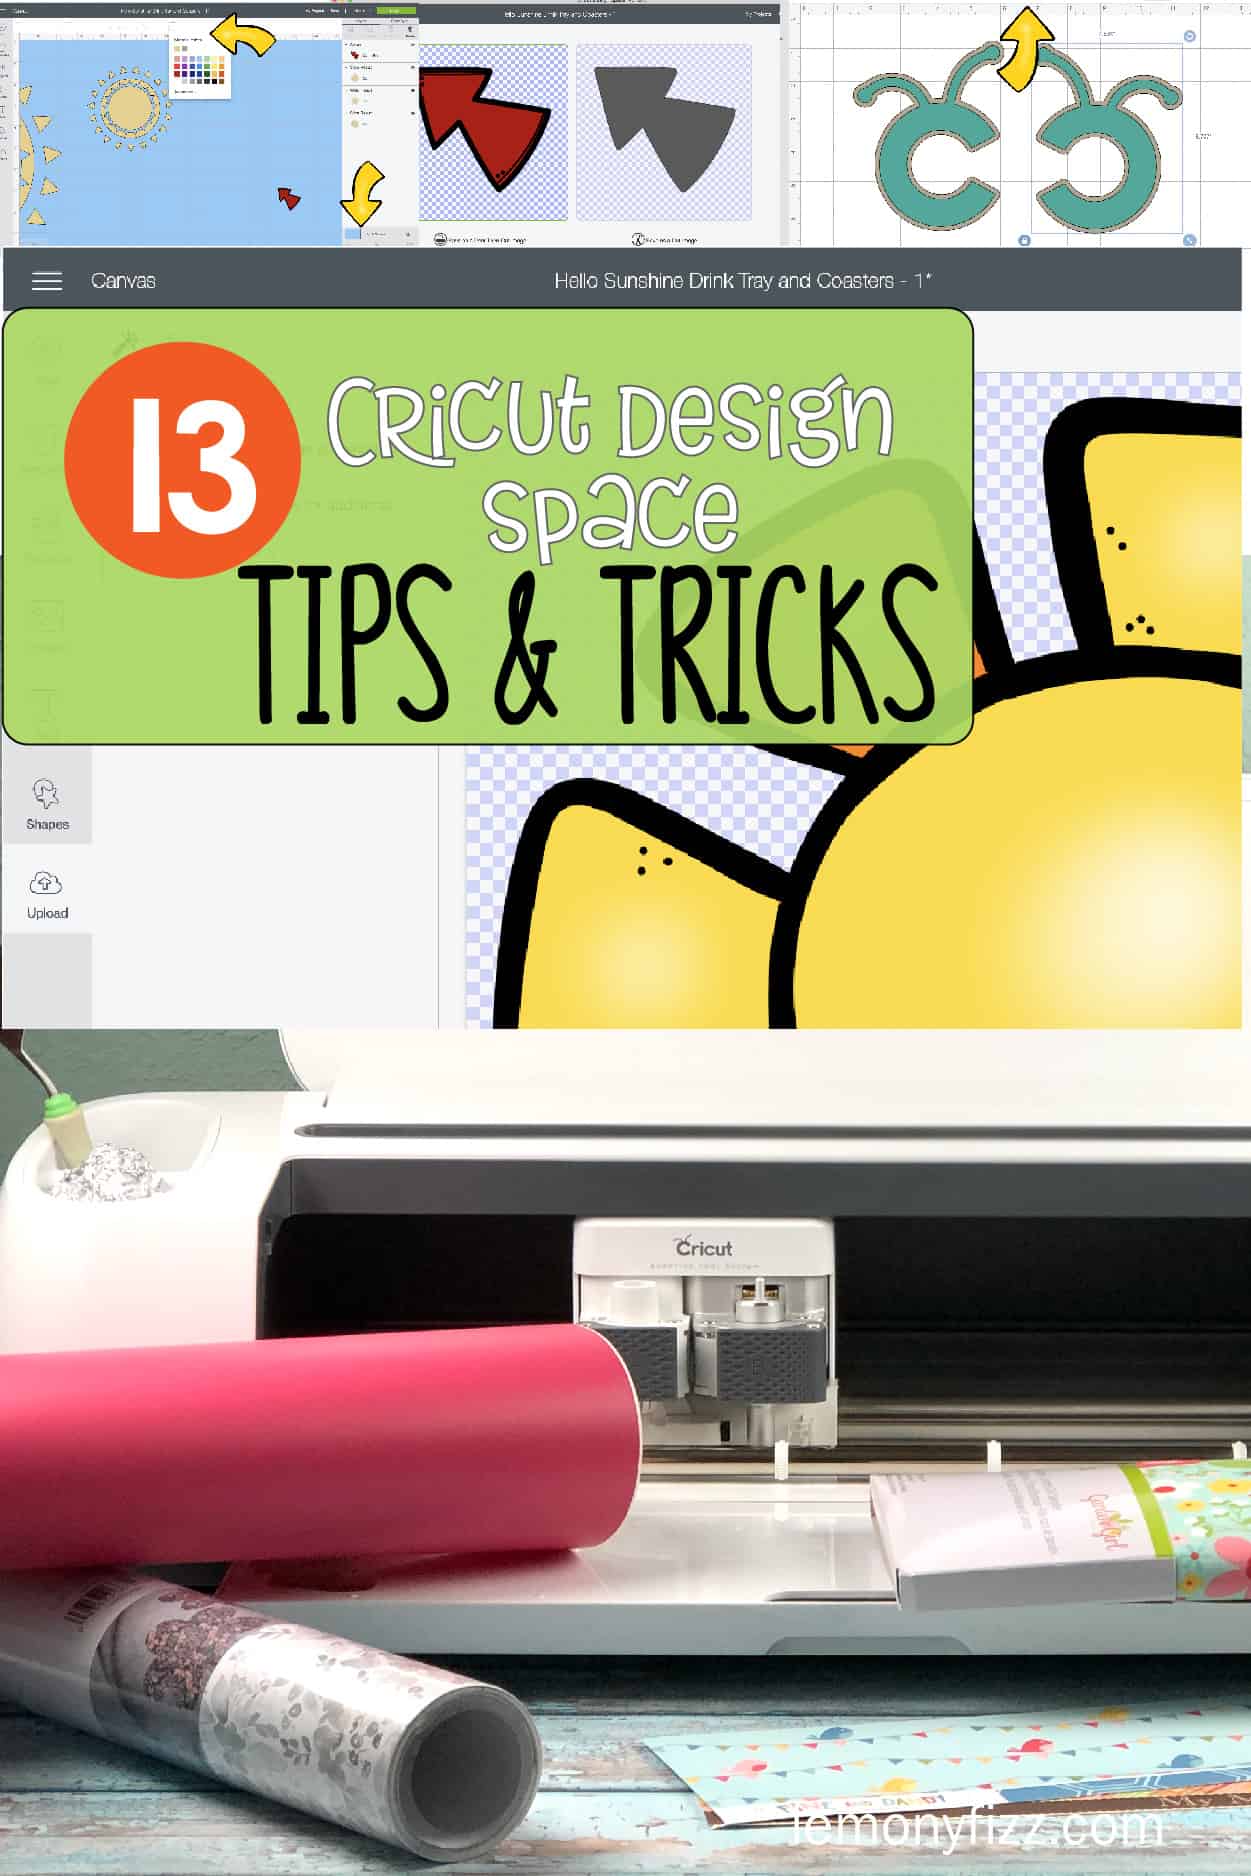
Tips and Tricks for Cricut Design Space
You might already know some of these. Some might be a great ah-ha moment for you. Others, you may never need to use. Learn what you need. Ignore the rest.
Read this post on Cricut Hacks to learn fifty-fifty more!!
1. Change or Remove the Grid Lines on the Canvass
You might open up up your Cricut Design Space and see a beautiful white canvas. Or you might open up it up and see a grid or thin grey lines. How do you become the grid lines in Blueprint Infinite for Cricut if y'all don't have them? Or how do you become rid of the gridlines in Cricut Design Space if you Practise have them?
At that place are 2 dissimilar means to do this. The beginning is to get upwards to the 3 bar menu dropdown (hamburger carte du jour) in the pinnacle left.
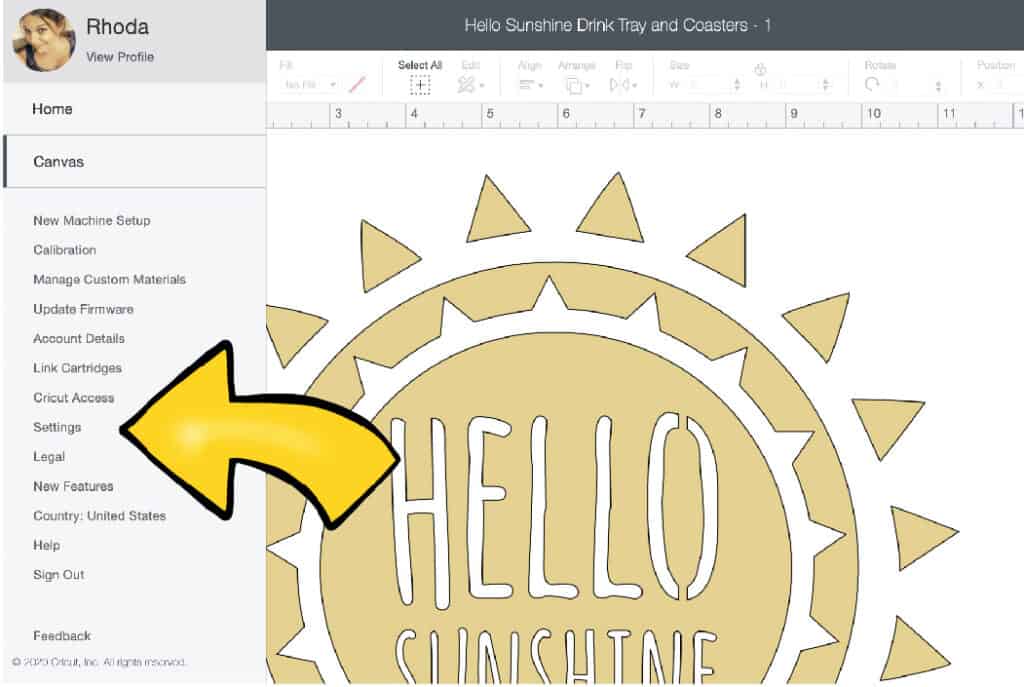
Click that and scroll down to SETTINGS.
Now you can change the grid appearance on your canvass or only make it go away.
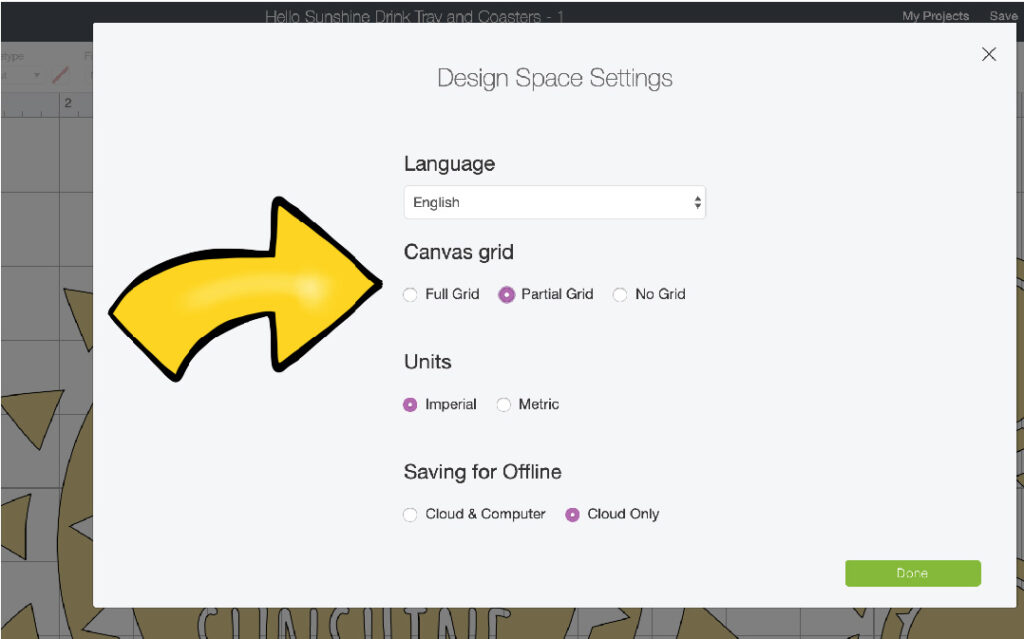
You tin can also modify your measurement system from Imperial to Metric or vice versa.
Click DONE. That was piece of cake. But it gets even easier.
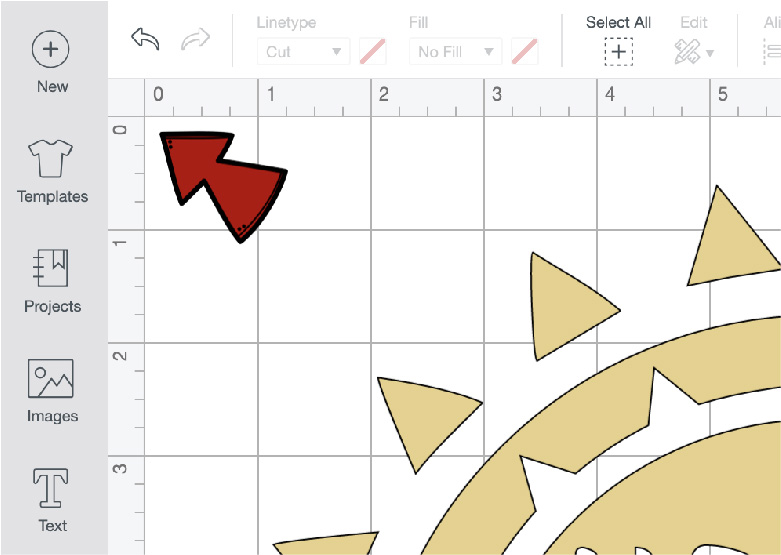
See that blank infinite in-between the 0's in the top left corner of your canvas rulers? Click that. Click it again. It volition toggle through the grid settings and then you can switch them out FAST!
2. Change the Sail Color
You can easily alter the background of your canvas color. This makes it MUCH easier to see parts of your blueprint that are white. It will besides give you a good idea what your design will look like on unlike materials or backgrounds.
Just click on the BLANK CANVAS in your layers panel on the bottom right.

You tin can now choose your colour using the square color selector at the summit of your screen (it is the only tool available on the bar when you lot select the sail.
3. Observe Images in Cricut Admission
There are thousands and thousands of images in Cricut Access. You can click on the filters or blazon in complimentary to find ones that y'all can apply without the subscription.
Y'all tin as well search past themes to find a set up of images that are all related.
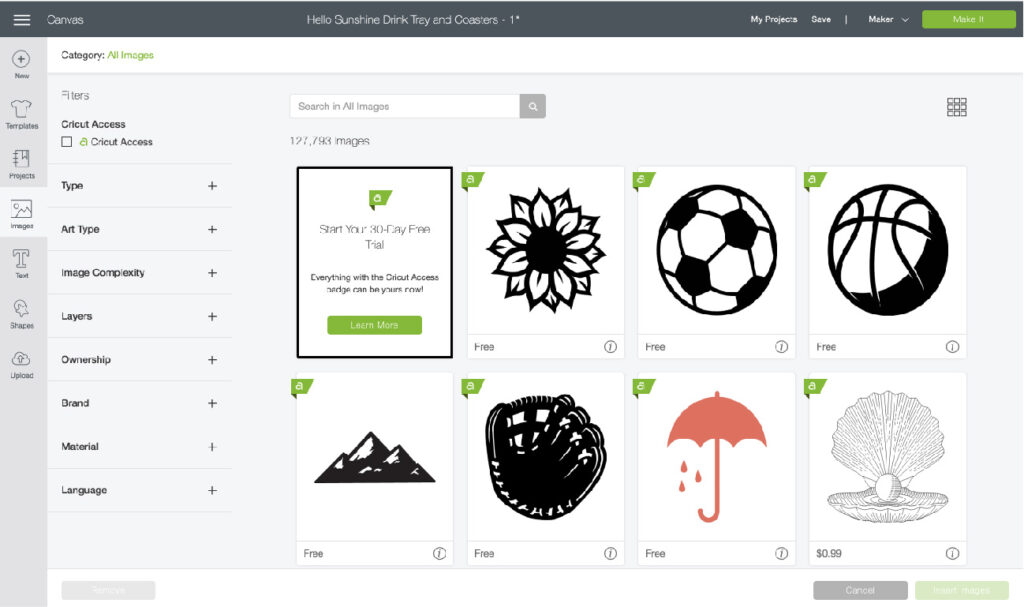
If you don't notice what yous are looking for or you lot feel like the search was besides little, try broadening your search term. Don't brand it plural (ex. try flower instead of flowers). This volition give y'all more results to browse through.
4. Choosing Parts You Want From an Paradigm
Y'all establish an image. Merely you lot only want to utilise part of it. Possibly it has text you don't desire or it has 5 trees instead of three. That'southward okay. Bring the prototype in anyway. At that place are a few means to modify the prototype to fit your ideas.
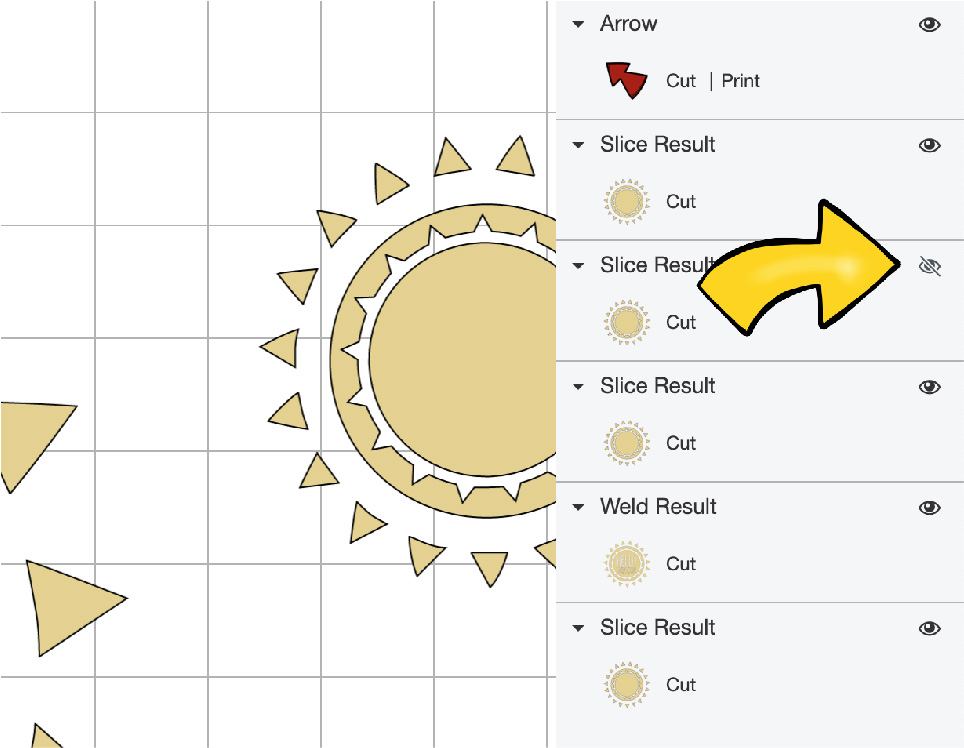
- Hibernate the parts y'all don't want by clicking on the "eyeball" that is located on the side of the layer. This hides information technology from your view. It also hides information technology from your car when information technology is fourth dimension to cut. The major benefit of this tool is that the element withal exists. Y'all didn't delete information technology out. If yous make up one's mind you want to use it subsequently…y'all don't have to go earthworks to discover information technology. And you don't have to become though the procedure of uploading an paradigm again. Handy!
- Select the part you don't desire and striking DELETE. If it is actually a design chemical element that you volition never ever use, information technology is okay to 86 information technology. Go information technology out of your files and let it clutter up your arts and crafts life no more.
5. Erase it Every bit You Upload Information technology to Blueprint Infinite
I talk all about uploading images to Cricut Blueprint Space in this postal service. What if you only desire a function of that image uploaded?
After you take selected SIMPLE or COMPLEX, Design Space for Cricut will requite you the choice to do one of 3 things.
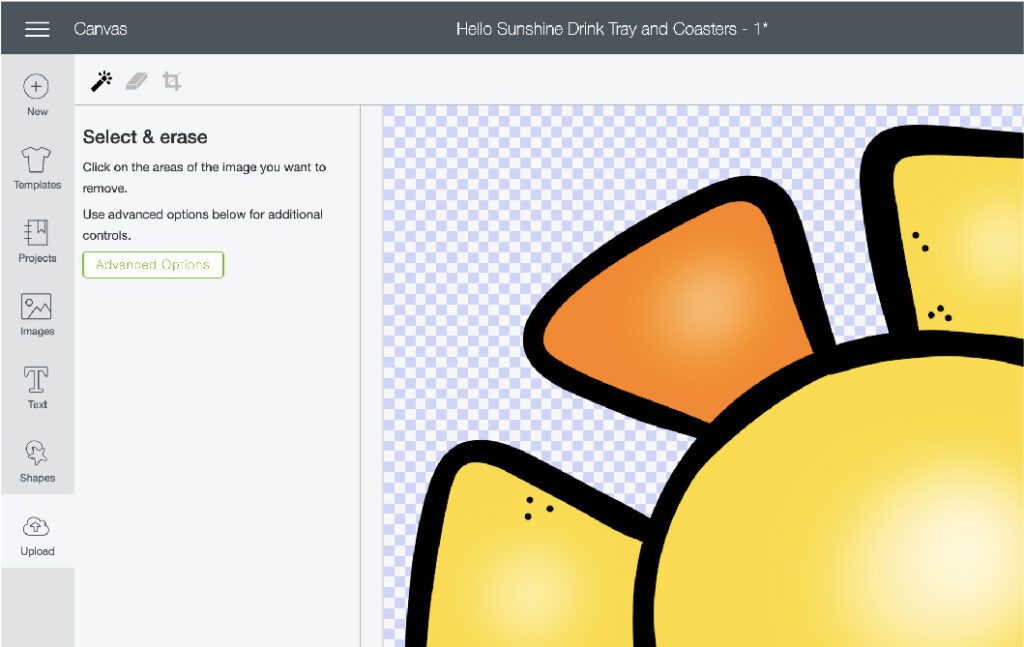
- Magic Wand abroad the parts you don't want past clicking on them (this is also used to get rid of the background if information technology was a JPG).
- Erase things with the regular eraser tool. This is great for footling pieces or to clean upward the edges of a design.
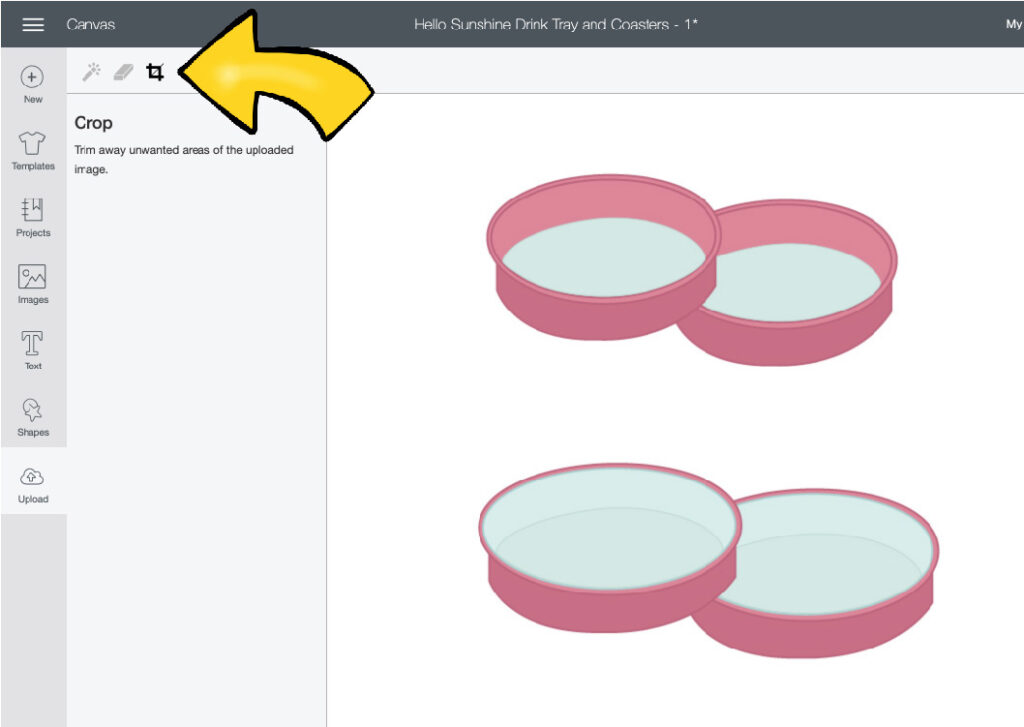
- Crop it. This is the one that will salvage you a TON of time if there are multiple things in the image and y'all merely want one or 2 parts.
6. Preview the Cut Earlier You Finish the Upload
You found a design y'all like. It is but in JPG or PNG format and then you upload it to Cricut Blueprint Space. Then you spend forever deleting out parts you don't desire. Lines that don't make sense. Or little tiny elements that you know won't cutting well.

At this point, you tin preview what the cutting will expect like before you lot finalize the upload and put information technology into your Images or Project Deject. Down in the bottom, middle of the screen there is a preview button. Click this and it will prove yous the outline of all the cuts in the project.
7. Delete a Project or Image in Cricut Design Space
The images are uploaded. You added them to the canvas. Maybe you even made it and then far as to add the font for your phrase or slogan.
And you don't like it.
Not only don't like. You lot LOATH information technology (recollect Grinch when you read that).
How do you make it go away forever and never render? Delete information technology.
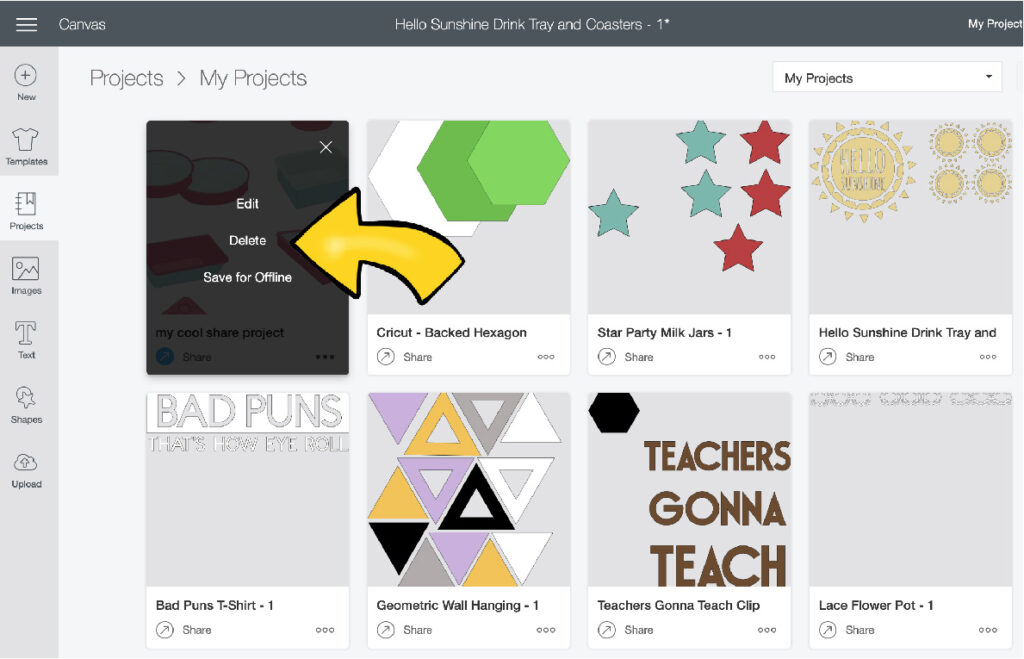
When you are viewing all the projects that you have in the Cricut Cloud, y'all take the selection to click on the 3 dots (ellipses) and select the DELETE option.
The same is possible with whatsoever images you have uploaded. Click on the lilliputian "i" in the lesser corner of the epitome thumbnail and select DELETE.
8. Alter All The Elements to Ane Color (or a Few Colors)
The SYNC tool is one that took me awhile to figure out. I was like a chimpanzee with technology. Clicking. Dragging. Cussing. And wondering why in the heck they even added that tool in Design Space!!
Oh. That's why. Lightheaded me.
You tin drag and drop elements in the SYNC LAYERS to switch their colors. This way even if all the elements of a cut file are uploaded in fall colors and you want to make them leap colors you can. Or you want the entire projection to cut on a white mat.
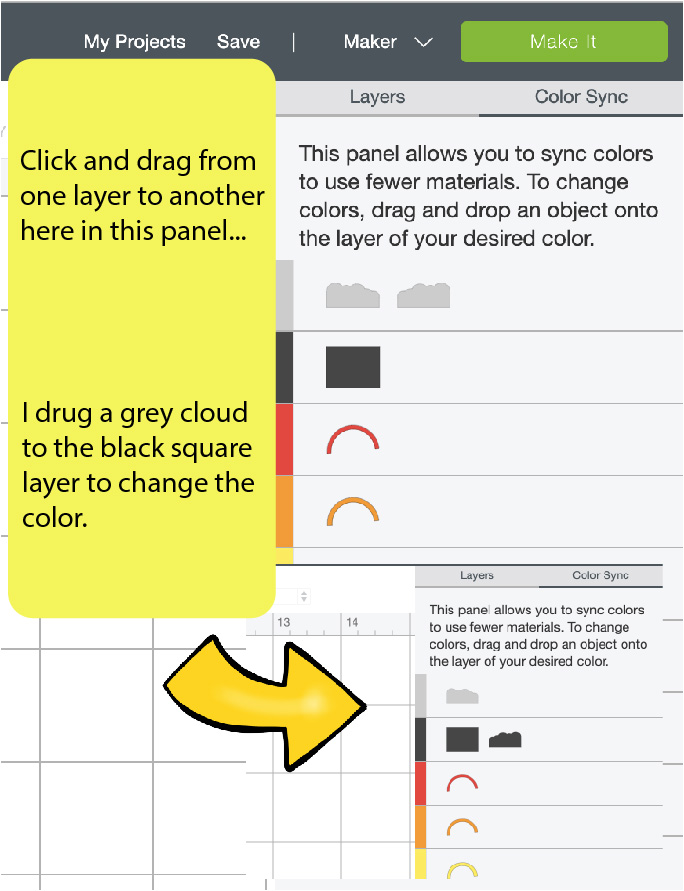
It is but another way of changing the colors of your cutting elements. Drag and drop the layers in the SYNC panel and you lot can become them all switched around as needed.
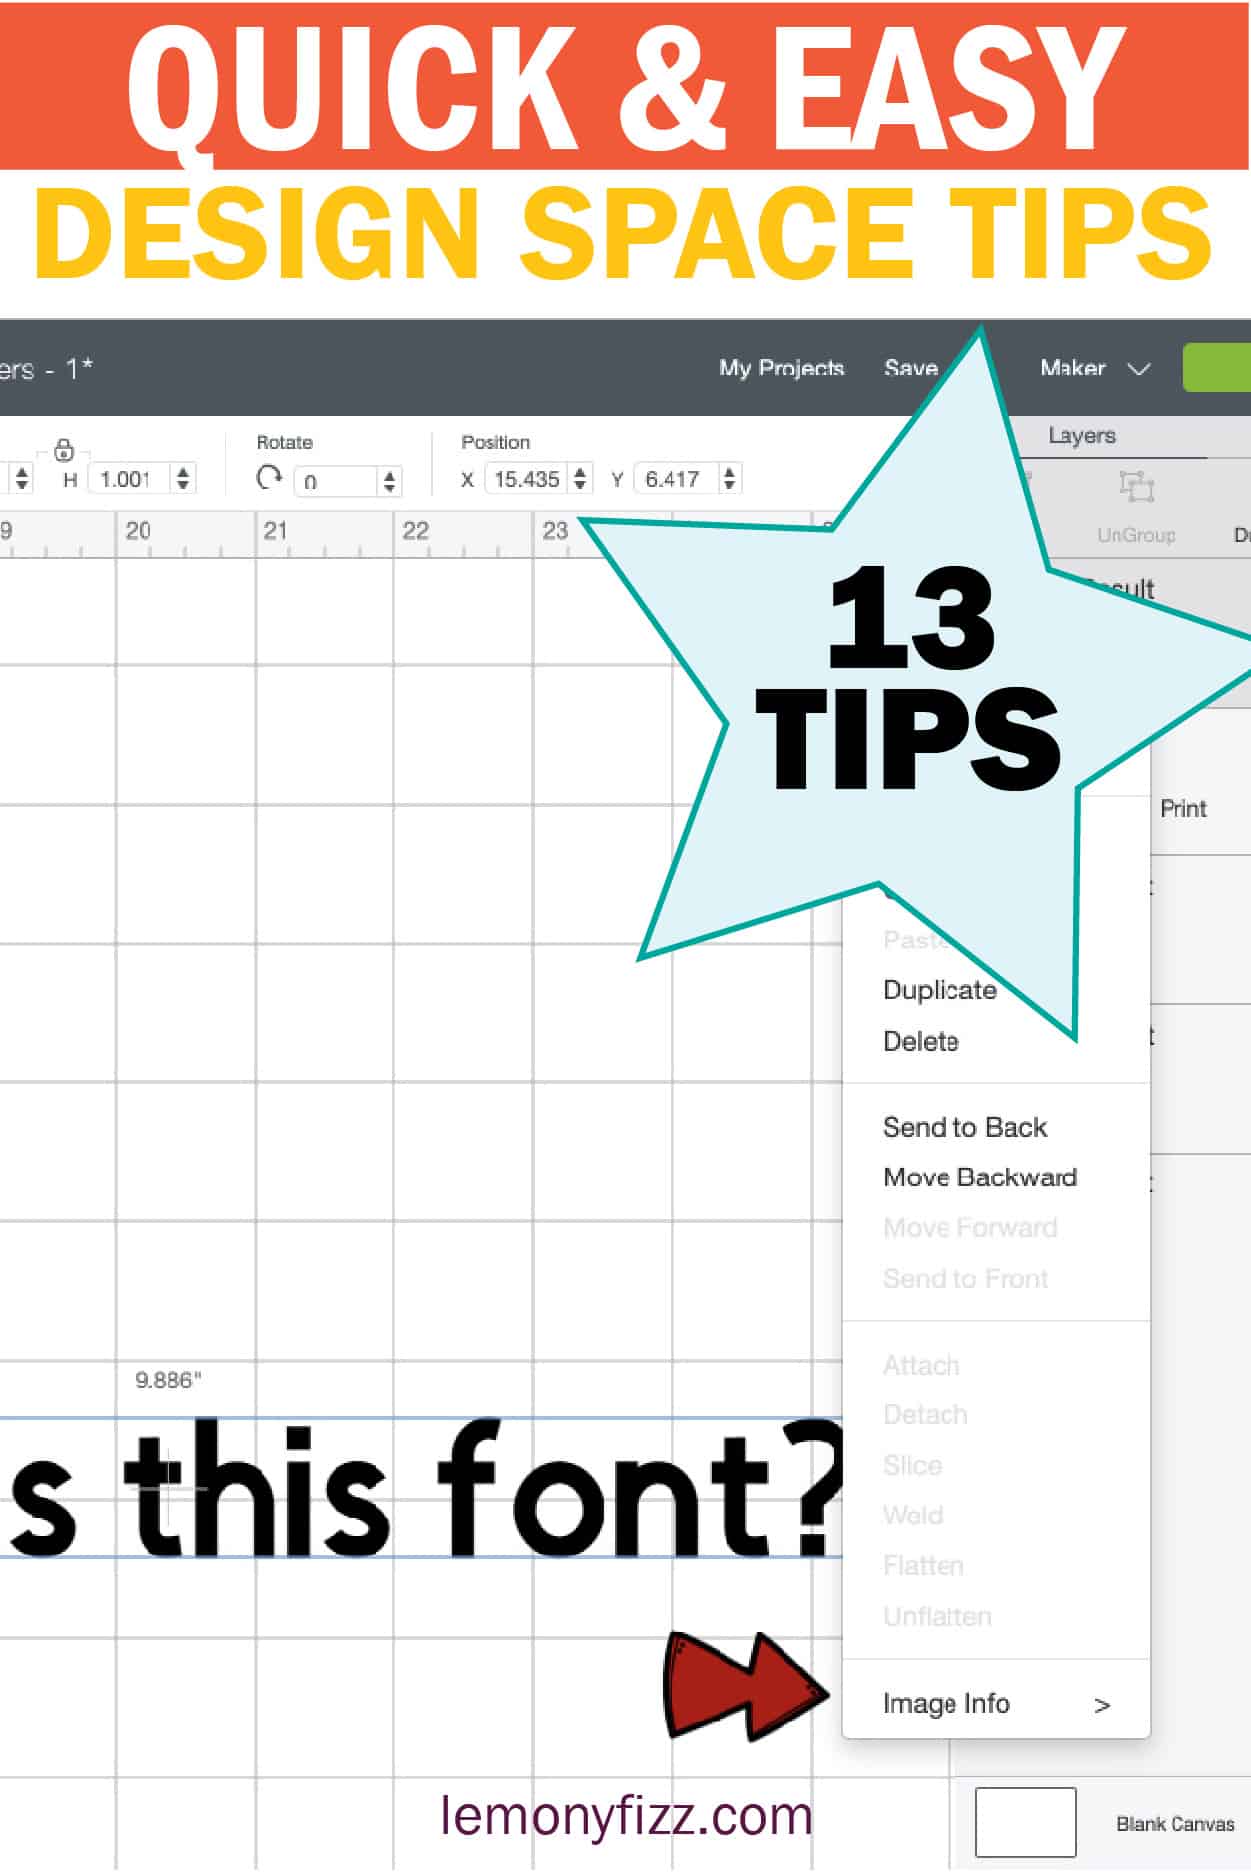
9. Effigy Out a Font After it Has Been Welded
Accept you ever finished a projection. Cutting it out and and then come up back to it and thought "I want to change the phrase…but what font did I use?!".
Now y'all can figure it out…fifty-fifty weeks later. And even after it has been welded.
Locate the layer that holds the welded text. Now RIGHT CLICK on that layer. Gyre down and hover over Image INFO. It will have a grey window that pops out and shows you lot the font proper name.
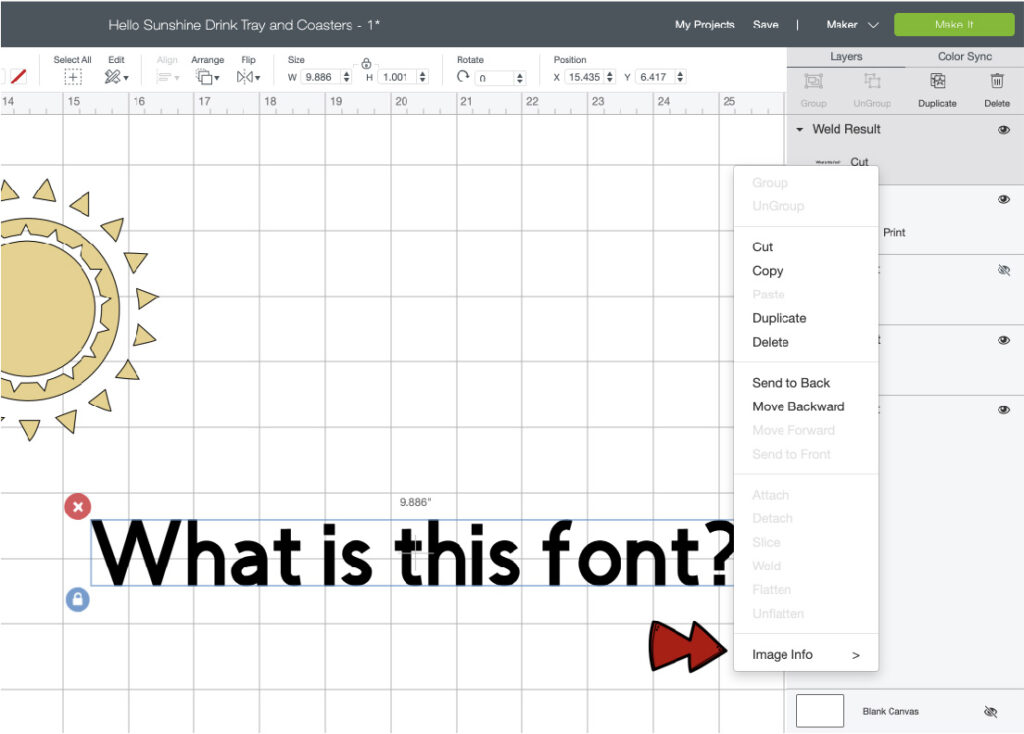
NOTE: If this isn't working, you may need to reload your Cricut Pattern Space App (close out and open information technology once more).
10. Shift Key for Precise Rotation
Want to turn an paradigm exactly 90 degrees. Or 180 degrees. Y'all can blazon information technology into the toolbar on the top where it says ROTATE.
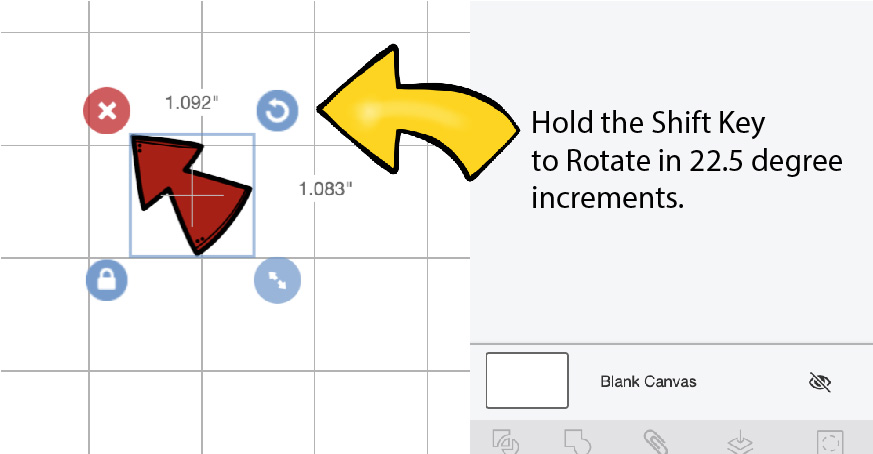
You tin can also hold the SHIFT key and information technology will turn your object in increments of 22.5 degrees. This is a quick style to rotate your object or text 45 or xc degrees.
11. Flip an Object on the Canvass Instead of Using the Mirror Feature
Sometimes yous discover an image that you dear, but it is facing the wrong management. You need it to be facing the other way. Or yous need two. One facing each direction.
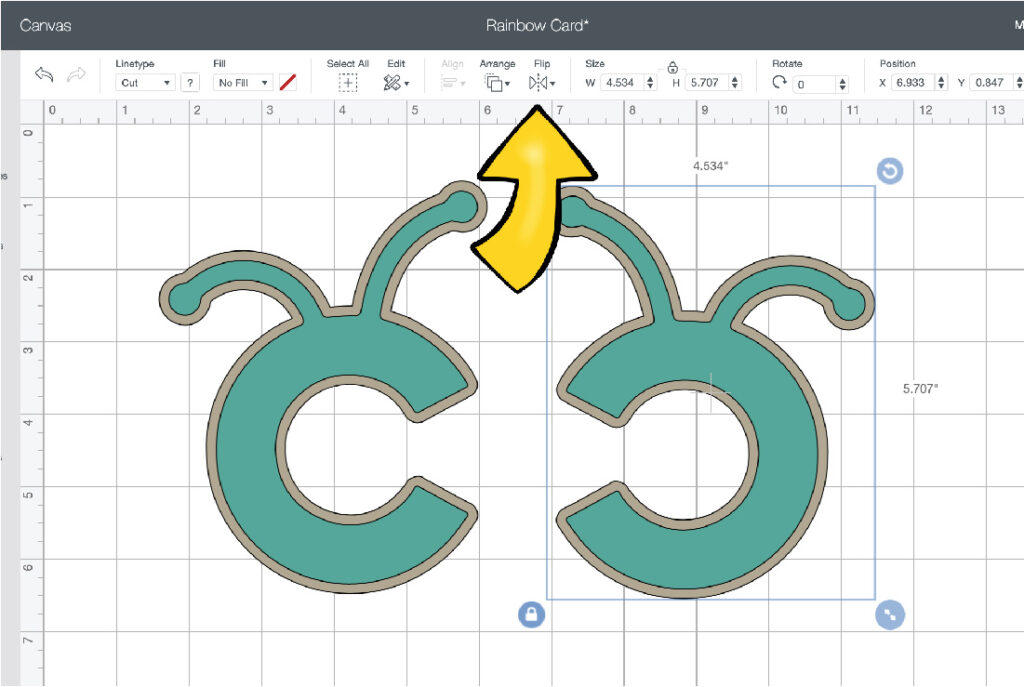
Yous don't want to have to cutting it out twice, once using the MIRROR function and once not using information technology. There is a handy tool on the superlative toolbar that lets you FLIP a pattern horizontally or vertically.
12. Filter Fonts for Cutting or Writing
Just like there are thousands and thousands of images and project to choose from, there are also thousands and thousands of fonts. (Cheque out this mail on finding costless fonts and how to use them in Cricut Pattern Space)
How practise you detect the 1 you want that actually works well with the DRAW tool? Or how do yous find a font that is a multi-layer cut file?
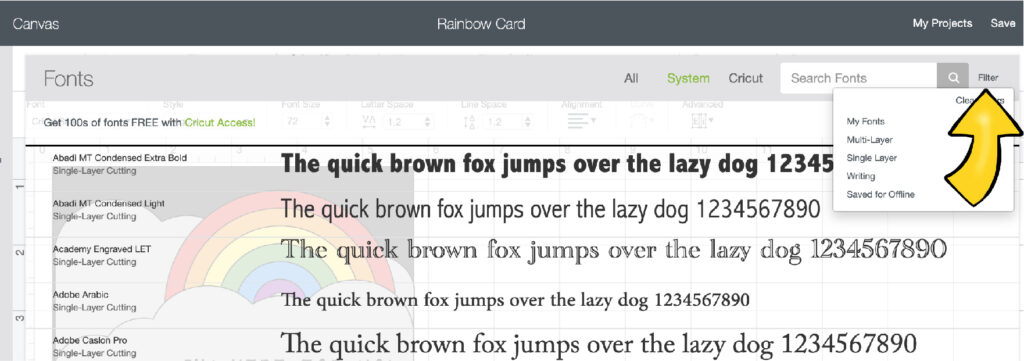
In that location is a handy filter on the edge of the search bar in the font toolbar. It will allow you to narrow down all those beautiful fonts to find the best 1 for your projection!
Once your project is finally designed and you take it all perfected, you tin make your beautiful project. And all your arts and crafts friends are going to desire to know how you did information technology. (I almost felt a rendition of IF You lot GIVE A MOUSE A COOKIE coming on there for a sec…)
Save them some time and share the file with them! You will desire to turn off the filigree (similar you learned in tip #1) and have a screenshot of your file. A photo of your project works too!
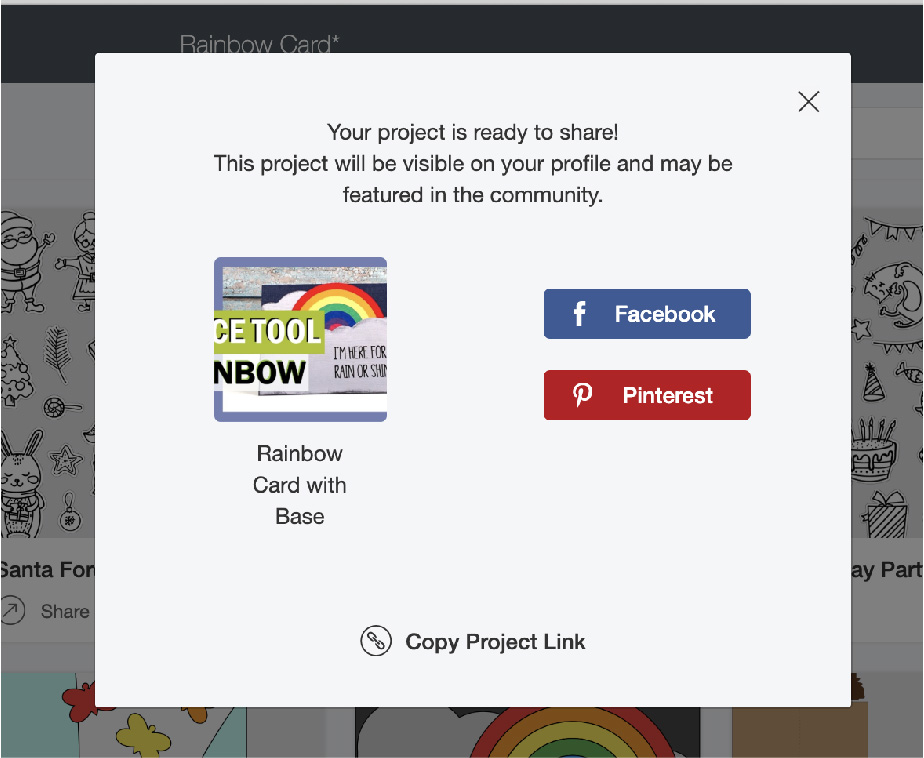
Add a clarification and some tags and then hitting SHARE. Post information technology on Facebook. Add it to Pinterest. Or copy the link and transport it out in an email or group chat.
While you lot are at it. Share this mail service with your friends…because you know, chances are, they are going to want to know all these fun Cricut Pattern Tips as well!! 😉

Source: https://lemonyfizz.com/how-to-use-cricut-design-space/
Posted by: martinfelainum51.blogspot.com
0 Response to "How To Change Canvas Color In Cricut Design Space"
Post a Comment